Friday, December 23, 2011

Making Your Own Crayons

The boys loved when I made some Christmas tree crayons for their school gift exchange.

So much so, that they almost wouldn't let me wrap or attach them to the gifts.

Won't they be surprised when they get some of their very own in their stockings on Christmas morning.


I bought a tree silicone pan for a dollar in Target's dollar spot.

and cheapie crayons from the dollar store.

peeled all the paper off the crayons

broke them into smaller pieces 

Cranked the oven to 250* 

melted the crayons for about 10-15 mins.

cooled them over night

and popped them out of the mold in the morning.


Cute and Cheap!

Sure you could buy a box of crayons and save yourself the trouble of making them.....

but where's the fun in that?

This month has been so much fun!!

I have really enjoyed the guest bloggers and their posts.

The giveaways were awesome.

I would totally love doing this again sometime.

Extra, extra special thank you to all my bloggy mommy friends who took time out of their busy holiday schedules and shared their crafty goodness with all of us...either through baking cookies or sharing crafts.  

Also thank you to everyone who participated in the giveaways! Your prizes will be coming soon (if you haven't already received them).  Extra thank you to the companies that sponsored the giveaways!

Super duper thanks to my awesome cohosts...Danielle, who coordinated the whole event, including the pajama contest.  
Michelle, who designed the buttons.
Rachel, who hosted a fun ugly sweater party and Jill, who coordinated the carnival linky. 

I totally enjoyed myself and I hope they did as well!

Speaking of the pajama contest......

The winner has been chosen!!


Hello Lovelies! Well it is time to announce the winner of The Pajama-Rama contest! I am so excited. It was hard to decided. All my lovely co-hosts and I looked through all the PJ entries and let me just tell you there are some very cutely dressed families out there, all ready for Christmas. I love all the ideas shared. Our absolutely favorite though was from The Craftingfiend.

Photobucket


Jen made an adorable nightie for her little Miss with a matching bear! 

How cute is that!


Check out her blog she has a great tutorial on how she made this.

Photobucket

Photobucket

Photobucket

We fell in love with the colors and the stuffee to go with!!

Thanks so much for all who entered. I have enjoyed this month of Christmas fun and thanks so much for all of you getting involved. You guys rock!!

From all my co-hosts we want to thank you for sharing and inspiring this month. Have a very Merry Christmas and a Happy New Year!!

P.S.
 Jen we will be emailing you, so you can receive all your goodies!


Have a Very Merry Merry Special Christmas my friends!!!!
Thursday, December 22, 2011

Christmas Gift Decor by Blissful and Domestic

Hello Lovelies! I am so excited to be here on Adventures in Mommyland, sharing one of my Dollar Store Crafts. My name is Danielle and my bloggy home is

Photobucket

I love to blog about family, crafts, sewing, cooking, homeschool, re-purposing...
basically anything that lets me use my creativity.....

So that being said lets get crafting!

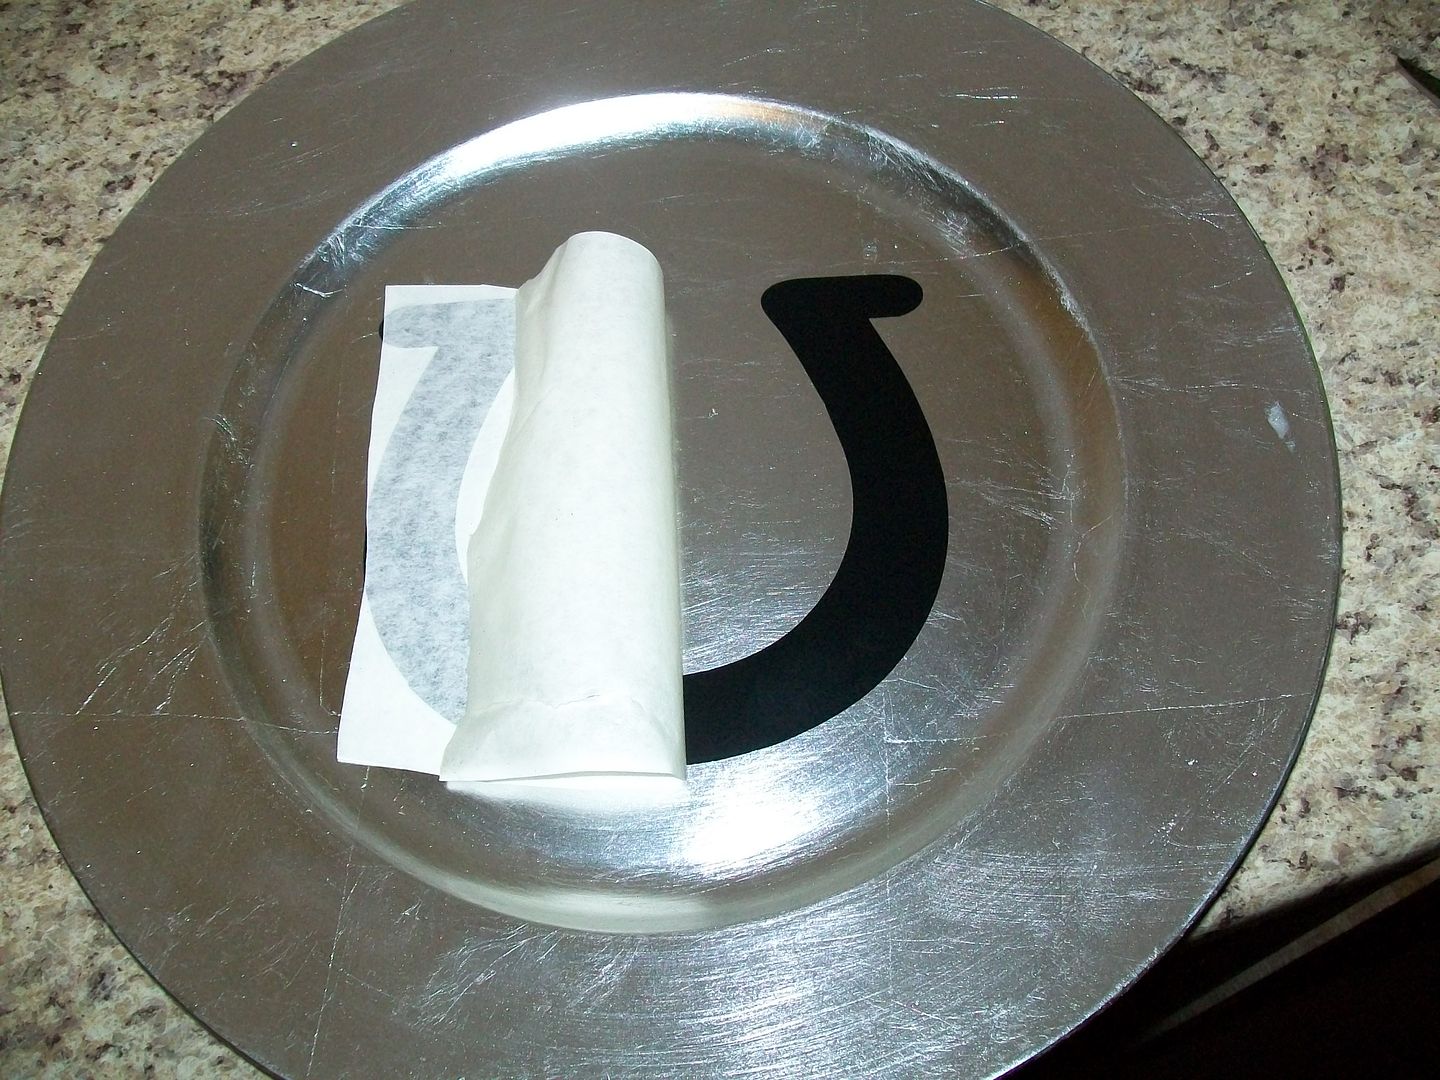
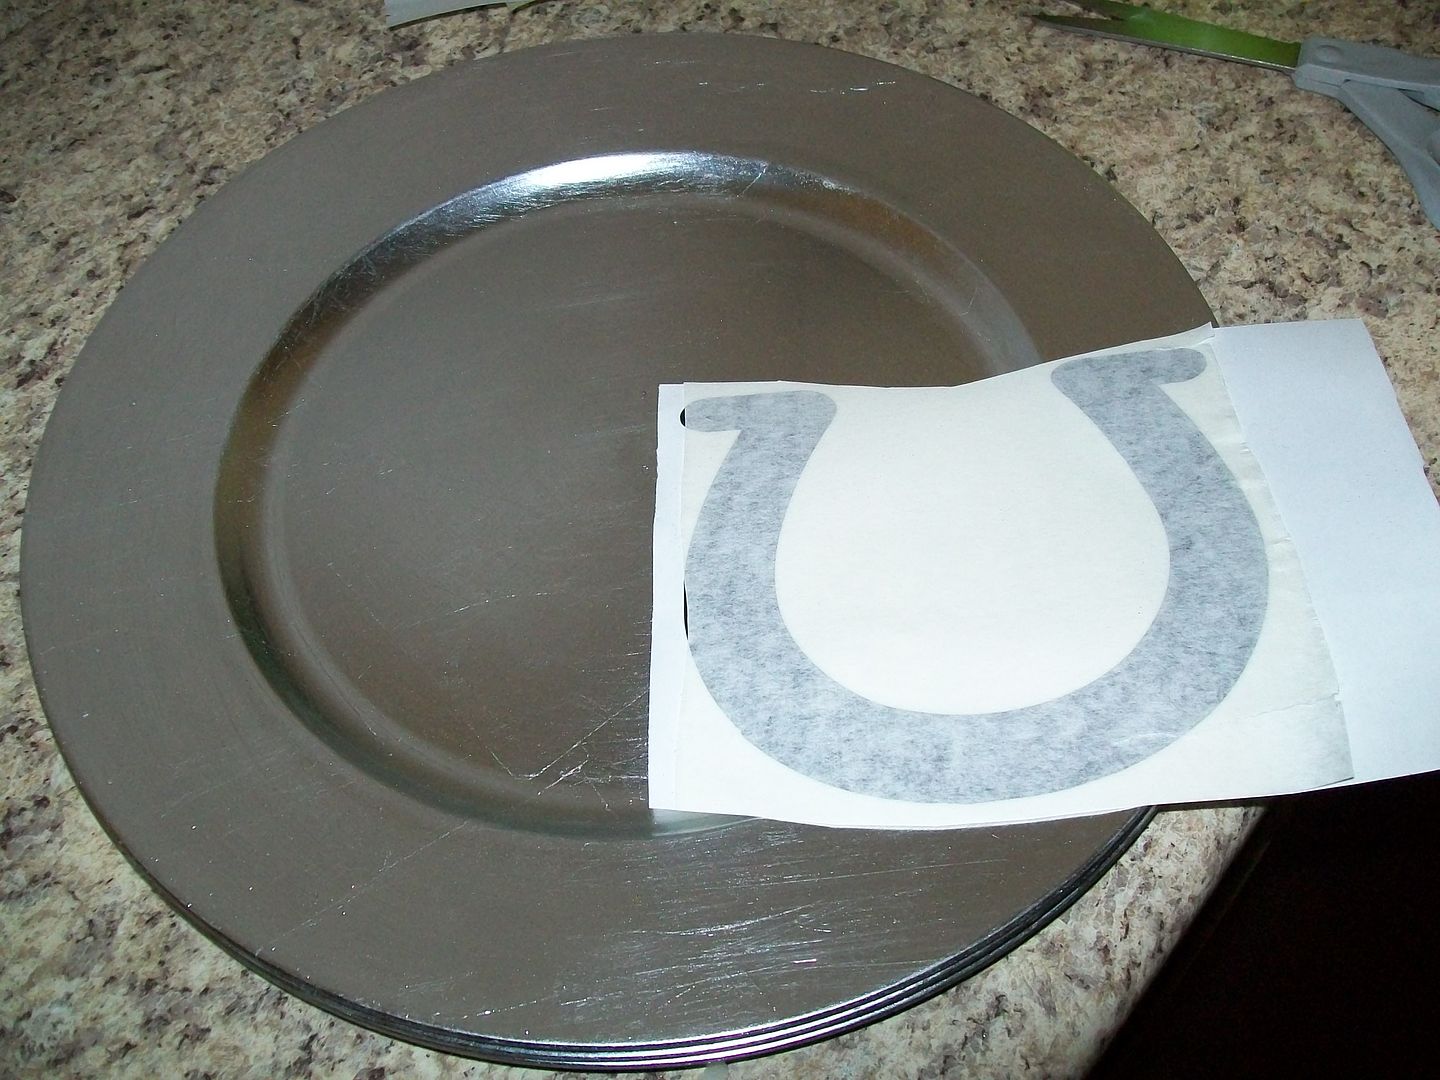
 I started out with a silver plate I found for $1.49 and a vinyl horseshoe

This is a gift for my mother-in-law who LOVES horses 
and cowboy Christmas decorations.

Photobucket

Apply your vinyl

Photobucket

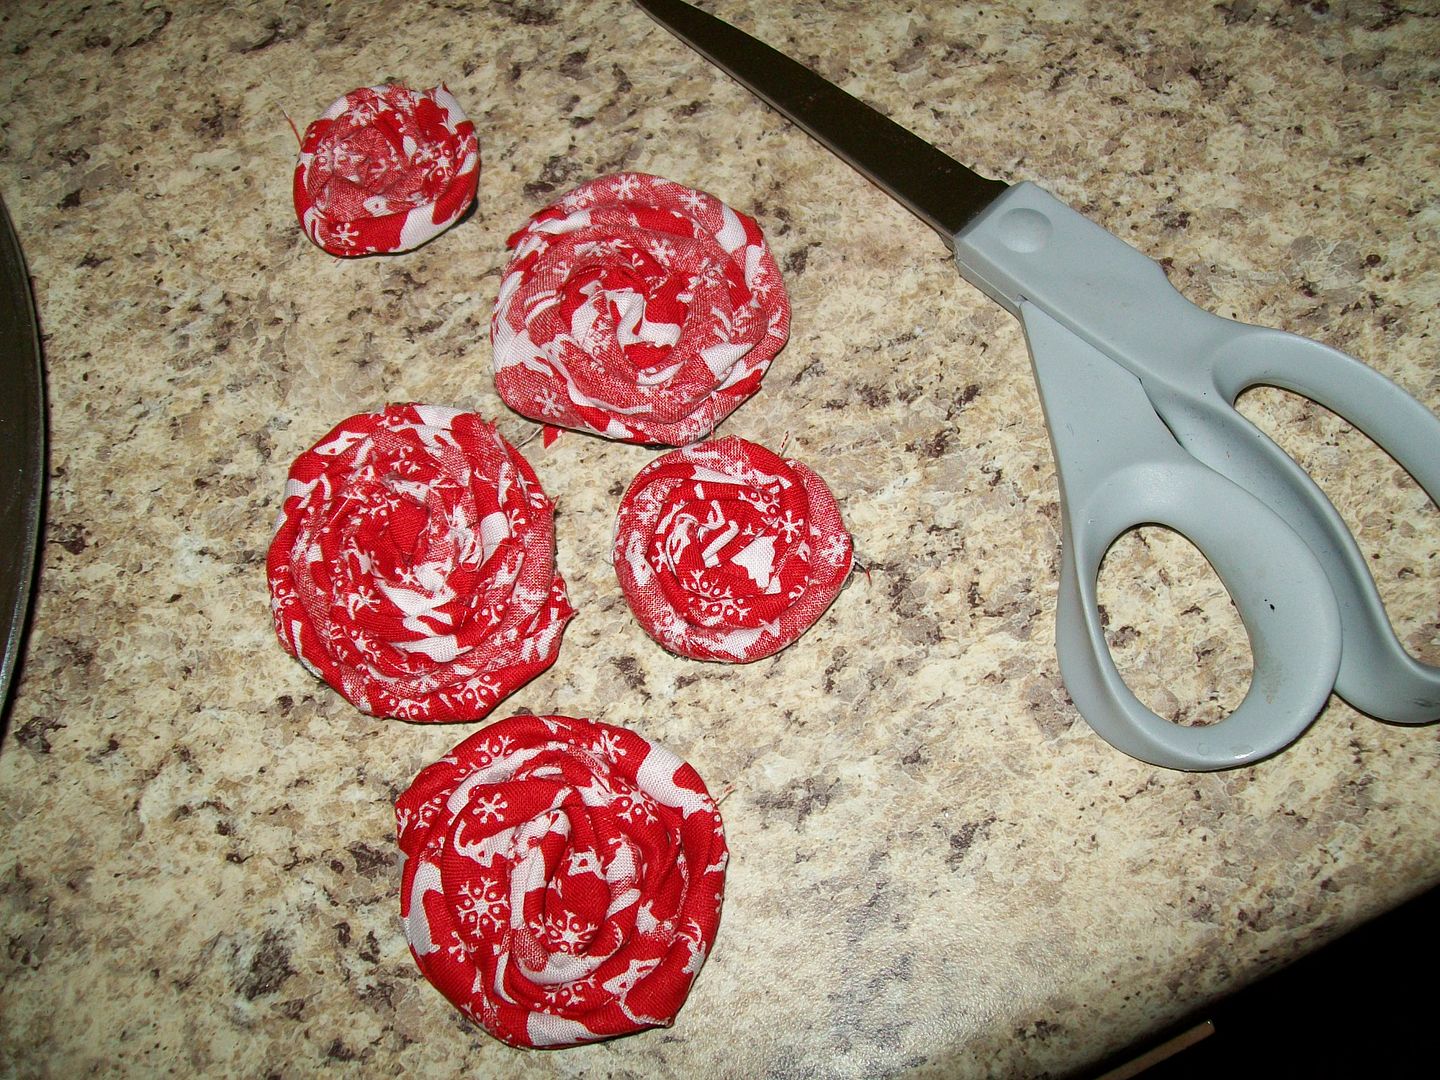
Grab some scrap Christmas Fabric and make some rosettes.
I did mine in a few sizes.

Photobucket

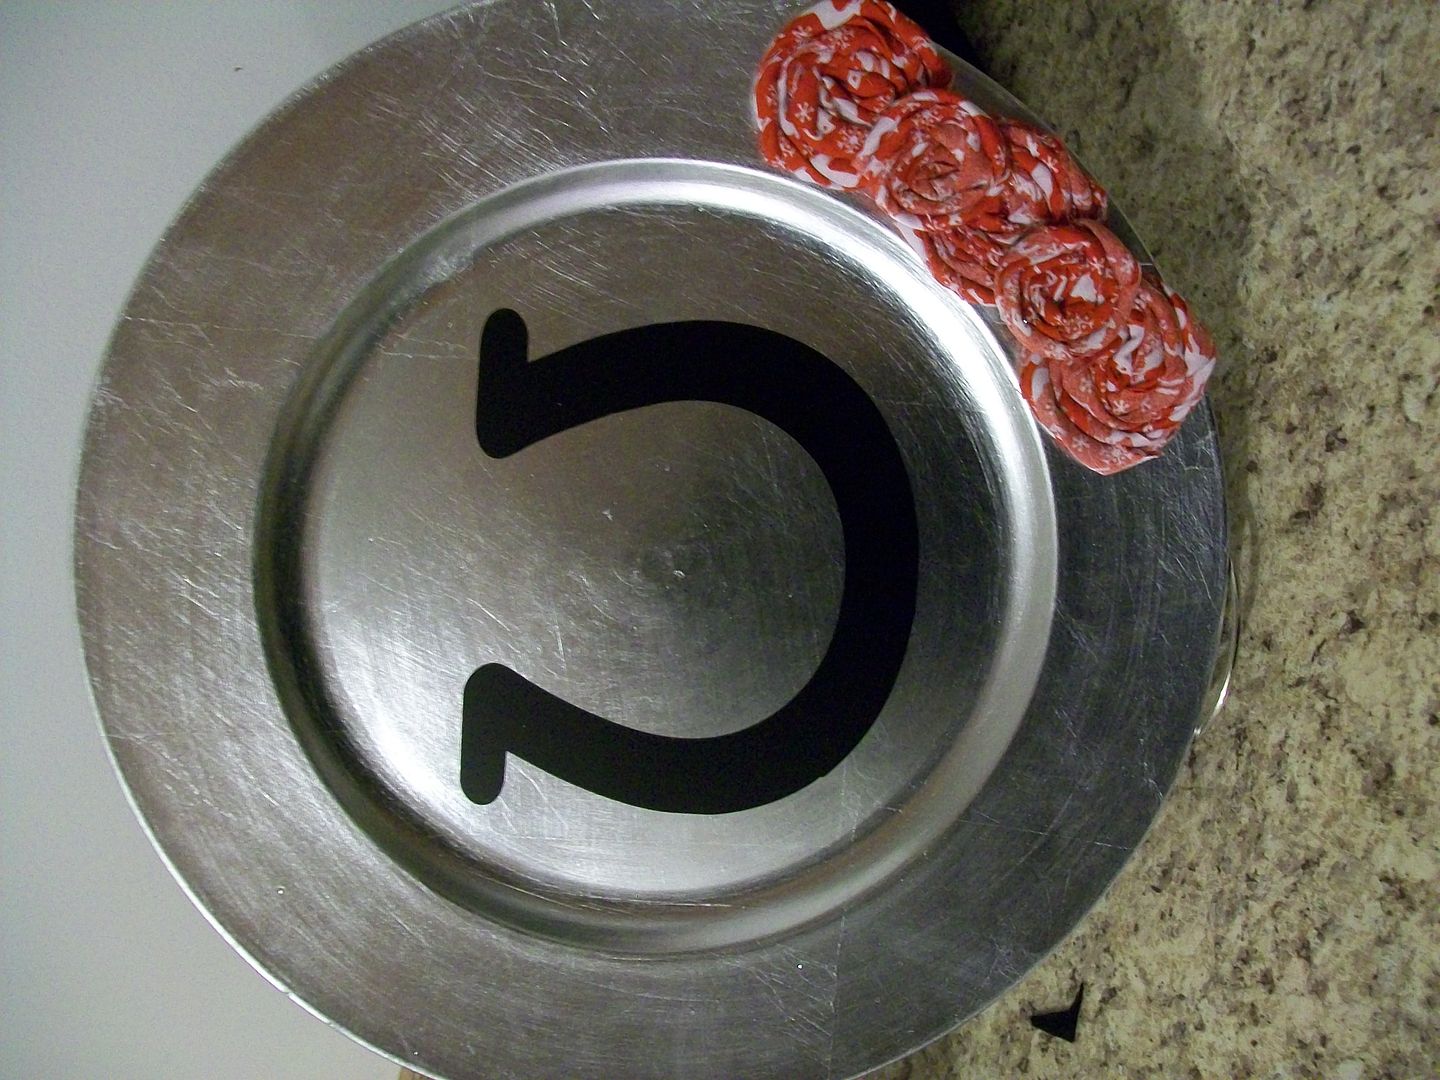
Hot glue onto your plate and your done!

Photobucket

Photobucket


Just a few simple steps to a cute Christmas Decoration
on the cheap.

I have so enjoyed sharing a craft with you.

Hop on over and see what other Christmas goodness I have going on at
Blissful and Domestic.


Follow me on Facebook Follow me on Twitter Browse my Pinterest 
Follow me with BlogLovin Send Me an E-mail Link up at My Party

Wednesday, December 21, 2011

Peppermint Candy Centerpieces by The H Family Happenings

Hello, I'm Tys, you can find me and my misadventures over at The H Family Happenings. I'm a stay at home mom to three boys ages 5 to 6 months! I blog about just about anything but often you'll find it related to trying to bring creativity into my life. Sometimes through home decor, stuff with the kids, crafts, and holiday fun!
I was so honored and excited with Char asked me to guest blog! I've known her via an online moms group for almost 5 years now, hard to believe. She presented me with coming up with a Dollar store craft. I had some ideas in mind instantly. I wanted to make some centerpieces for my oldest's preschool Christmas party, since I signed up for decor/paper goods this time.
Scoured pinterest of course and these were my inspiration (it says this pin was uploaded by user so there's no one I can find to credit)....
Pinned Image
We came home from the store with this....

Now I had planned on making peppermint candy TREES. However, while Dollar Store has floral foam, they do not have it in cone form. Bah-hum-bug! So I had to think on my feet (kind of scary), I grabbed 3 glasses hoping to make the tree shape.
Busted out my 24 year old glue gun (yes, I asked Santa for a new one!). I started out by wrapping the foam base with the garland a couple times to cover it.

Then one by one I started gluing the candy onto the glass (that I stuffed with white tissue paper just so IF it could be seen through the candy it just didn't look like candy on a glass, lol!). I left the wrappers on because I could only imagine preschoolers trying to pick them off to eat!

When I got to the top I realized a nice cone/tree shape was not going to happen. I topped it with a ribbon and a candy on top for more of a dome or cloche look.

Price to make is about $2.75 each! They're about 10" high with a 6" base. I still need to make 2 more to be ready for his little school party!
Thanks so much for reading! Thank you Char for having me! I'd love to have you come visit me over at The H Family Happenings soon! Merry Christmas & Happy New Year!

Tuesday, December 20, 2011

Ribbon Christmas Trees by Delicate Construction

Hello Adventures in Mommy-Land Readers!! My name is Michelle and I blog over at Delicate Construction!! I am a 27 year old wife to a wonderful hubby, mommy to a spunky almost 2 year old and caregiver for an awesome young gentlemen with Autism who lives with us. This is my favorite time of year it has only gotten better with all the fun surrounding Homemade in December!!

So you can guess how excited I was when one of my fabulous co-hosts, Charlene, asked me to share a post about a dollar store craft! Some of you may not know me yet but I am super cheap frugal and the dollar store is one of my favorite places to grab materials and inspiration. After a stroll through the store one day, I ended up grabbing the materials for this little beauty...


Seriously, could not be easier! 

Here is what you need:

Stryofoam cone
Ribbon, any kind, mine just happens to be shear
Hot glue and gun (always always always buy your hot glue from the dollar store, maybe the biggest value!)
A bow for the top, I just had this on hand but you could either buy one at the dollar store or get the ribbon and make one. 
Scissors

This is one of those 1,2,3 repeat.... about a thousand times types of projects, but that just means it is incredibly easy to do! 

First you cut your ribbon to four inch pieces (or whatever length you want), fold and then hot glue onto your styrofoam cone.


Go all the way around until the first layer is done.

Then go up about an inch and a half or so and do your second row.

Then the third.

And the fourth.

And after the fifth you glue a piece of ribbon around the top and then add your bow! Done!!

 How cute would it be to have a bunch of these in different sizes and colors all over a mantle or side table?!

Thanks so much for having me today Charlene!!

I would love for you to come by and visit me at Delicate Construction and if you become a new follower, make sure you leave a comment and let me know so I can follow you back!!

Thanks so much!!
 

Monday, December 19, 2011

Hey Mom, Look What I Did (#11)

The holidays are in full gear....everyone is scrambling to finish up their to do lists.  I am too.  So, I'm sharing some of my favorites from last week's link up and the Homemade in December link carnival as well.


Adventures In Mommy Land

 
Marble Paint Gingerbread Man


Thanks to everyone who has participated!!


I can't wait to see what everyone has made this week.

Please share your craft projects, baking activities and other fun adventures. Grab the link button and put it on your blog, if you like, so that others can share in the fun too.

Thanks for joining us....Hope to see you again soon!!


Christmas Bell Wreath by Emmy Mom - One Day at a Time

Holiday Crafts for a few bucks......Heck, yes!

This is our last week of the Homemade in December party and we are featuring dollar store crafts - crafts made with products from the dollar store.

To kick off this week, we have Emmy of Emmy Mom - One Day at a Time.  Emmy is a creative mom of 3 and an awesome photographer and she is one crafty mom too.

Take it away Emmy.....

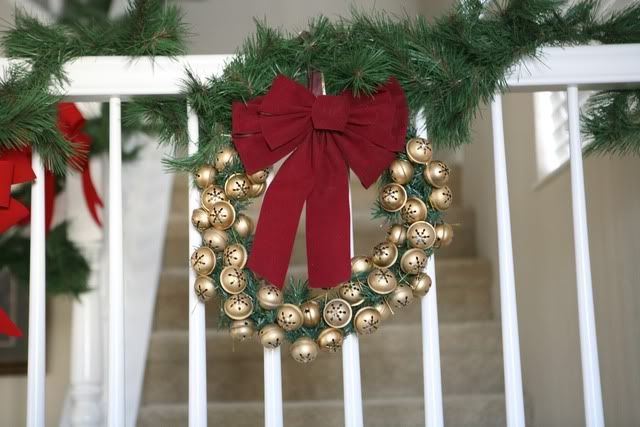
The Dollar store can be a hidden gem at times- and today's project a Christmas Bell Wreath was created from things only from the Dollar Store.


You can make one easily too and for only $7!

Note: I did not end up using the ribbon shown

Supplies:
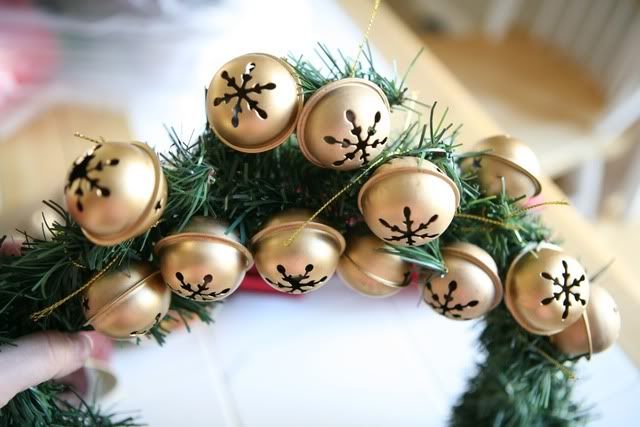
5 boxes of bells (9 bells in each box)
1 green wreath
1 Red bow
Scissors

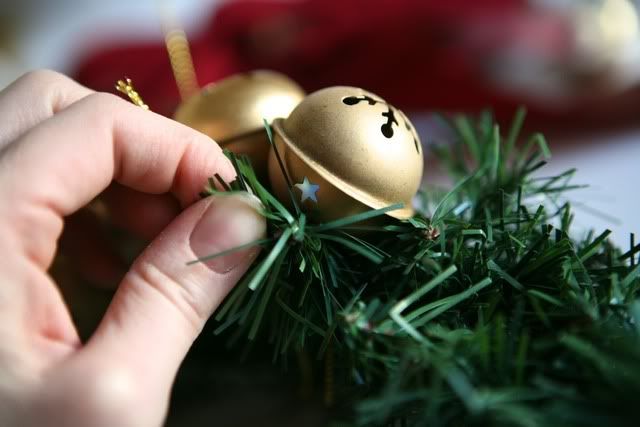
String the cords that come with the bells through each bell. Then simply tie each bell onto the wreath. Make sure the knots are tight.


You can tie the bells to the front and on the front sides of the wreath- leave a few extra to go back and fill in any holes at the end.


Place your bow at the top of the wreath to see where the bow covers the wreath as you DO NOT need to place any bells there.


Secure the bow to the wreath with the twisty tie that came with the bow.

Hang the wreath (I just put on a door knob) to see if there are any spots you want to go back and add any more bells.


Take scissors and trim any of the gold strings showing.

Then you are done!

Easy, fast and low cost for a great bell wreath.


My Photography website:
http://www.emilykathrynphoto.com

My blog!
http://www.emmymom2.com/

Thanks for sharing Emmy!!